This site contains affiliate links to products, and we may receive a commission for purchases made through these links.
The Meta Quest 2 is a great VR headset for playing games, but some users have reported that the Meta Quest 2 Link keeps disconnecting from PC. You may wonder why, and here is the answer!
A faulty link cable may cause your Meta Quest 2 to disconnect. It can also be due to an underpowered port, faulty link cable, or out-of-date USB drives. Other causes include a glitch in your internet connection or a problem with your graphics card.
In this blog post, I will discuss some of the possible causes of this problem. I will also discuss how you can fix this problem. Keep reading for more information.
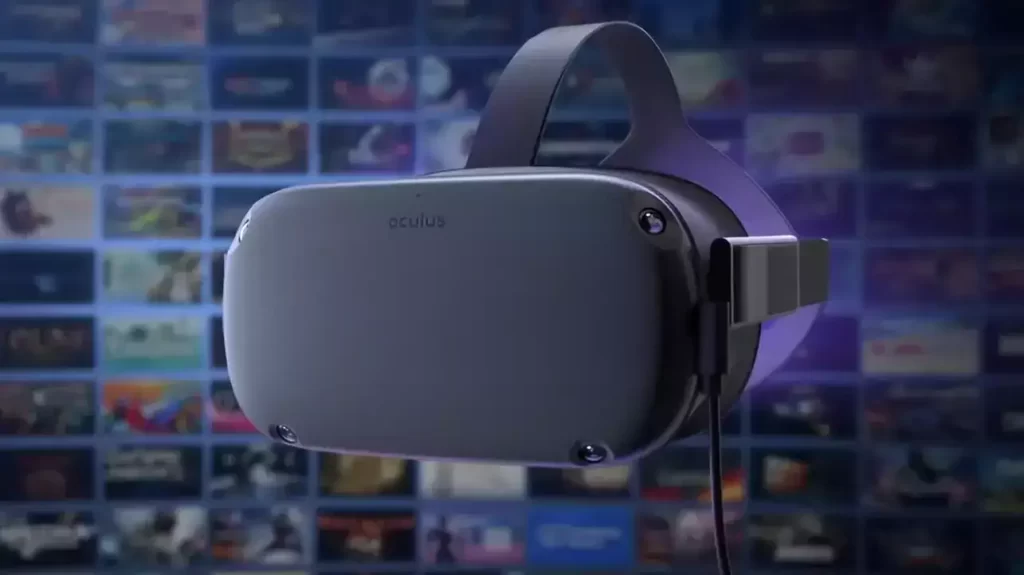
7 Reasons Why My Meta Quest 2 Link Keeps Disconnecting From PC
Read on as I discuss the potential causes of this problem in detail:
1. Faulty Link Cable
To connect your Quest 2 to a PC, you need a USB Type-C link cable. If this cable is not properly seated in the port, it can cause the link to keep disconnecting.
Make sure that the cable is inserted all the way and is snug.
2. Underpowered Port
The port you’re using to connect your Quest may not provide enough power. If the port is not delivering enough power, it can cause the link to keep disconnecting.
Try using a different port on your PC or a powered USB hub.
3. Faulty Ports
The state of the port on your PC is as important as the state of the USB cable. The USB port on the PC is responsible for receiving and transferring digital data to and from the PC.
This transfer is done by grouping data in small packets and sending them at very high speeds.
So if the port is not functioning properly, it can cause Quest 2 to disconnect from the PC.
Therefore, if the port has physical damage, dirt, broken circuits, or another flaw, it cannot receive these data packets or cannot receive enough of them to allow for a high-speed transfer.
This also results in the constant disconnection you may experience.
4. Faulty or Out-of-date USB Drives
If you’re using an older USB drive, it may not be compatible with the Quest 2. I recommend that you use a USB drive that is at least USB version three.
You can check the compatibility of your USB drive by visiting the Oculus website.
5. A glitch in Your Internet Connection
The Meta Quest 2 uses a wireless connection to connect to the internet. If there is a problem with your internet connection, it can cause your Quest 2 to disconnect.
6. Problem With Your Graphics Card
Another common cause of this issue is due to the graphics card. The Meta Quest 2 uses a Qualcomm Snapdragon XR-based graphics card.
If your PC does not have a compatible graphics card, it can cause the link to keep disconnecting.
Make sure that your PC has a compatible graphics card.
7. There’s a Glitch Preventing the Connection
The connection may occasionally be disrupted by a problem with your PC or the headset. Usually, this is software-based.
Your headset software must package data, translate it to digital form, divide it into packets, and transfer it as signals across the USB cord for your Quest 2 to connect to your PC using Link.
These signals must be converted from signals to meaningful digital data at the PC’s end, where your PC will interpret the data before displaying it to you.
There are several procedures involved, and anything can go wrong at any time. Even though it can be challenging to identify the source of a bug, there are techniques to fix it by employing elimination.
READ MORE! 18 Tips & Tricks For Oculus Quest 2 (You Need To Know!)
17 Ways To Troubleshoot and Fix the Oculus Disconnecting Problem
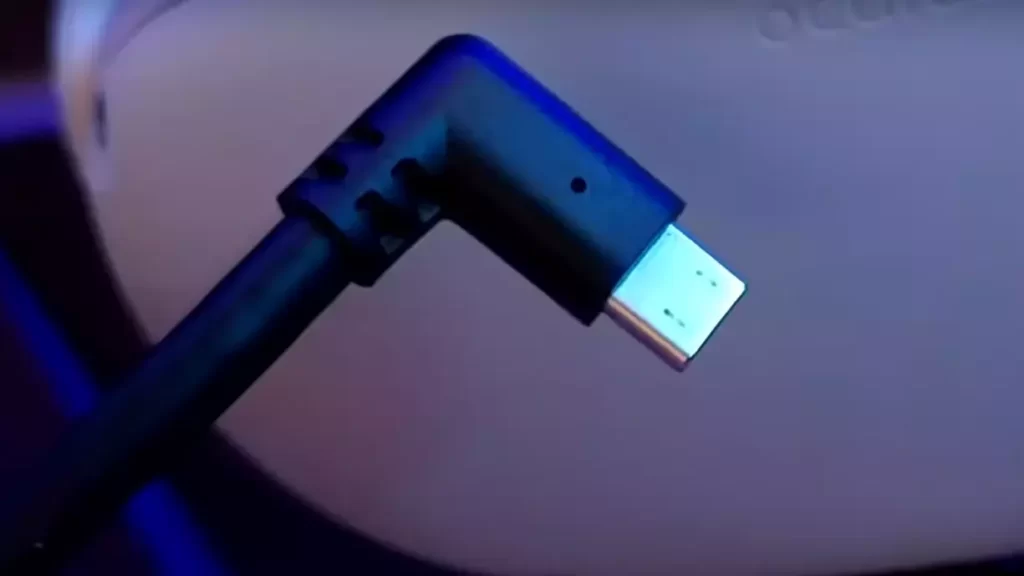
If you’re experiencing this problem, here are some tips that may help you fix it:
1. Restart Your Quest and PC
One of the first things you should try is restarting your Meta Quest and PC. This will reset the connection between your devices and may fix the problem.
2. Update Your Graphics Card Drivers
If you’re using an NVIDIA or AMD graphics card, ensure you have the latest drivers installed. You can download the latest drivers from the NVIDIA and AMD websites.
3. Update Your Quest Firmware
It’s also important to ensure your Meta Quest 2 has the latest firmware installed. To do this;
- Open the Oculus app on your PC
- Go to Settings > Beta.
- Then, select Update Firmware and follow the instructions.
4. Update Your PC USB Drivers
If you’re having trouble with your USB connection, ensure you have the latest drivers installed for your PC. You can download the latest drivers from your PC manufacturer’s website.
The easier way to do this is:
- Click on “Start” in the windows search bar
- Type in “Device Manager” and open it
- Click on the arrow next to “Universal Serial Bus controllers” to expand the list
- Right-click on each USB Root Hub and select “Update Driver.”
5. Disable USB Power Saving
Another thing you can try is disabling USB power saving. Follow the steps below to do this.
- Click on “Start” in the windows search bar
- Type in “Device Manager” and open it
- Click on the arrow next to “Universal Serial Bus controllers” to expand the list
- Right-click on each USB Root Hub and select “Properties”
- Click on the “Power Management” tab
- Uncheck the box next to “Allow the computer to turn off this device to save power.”
- Click “OK”
- Do this for each USB Root Hub listed.
6. Disable USB Selective Suspend
Another thing you can try is disabling USB selective suspend. Follow the steps below to do this:
- Click on “Start” in the windows search bar
- Type in “Control Panel” and open it
- Click on “Hardware and Sound”
- Click on “Power Options”
- Click on “Change Plan Settings” next to your current power plan
- Click on “Change Advanced Power Settings”
- Expand the “USB settings” section
- Expand the “USB selective suspend setting” section
- Set both options to “Disabled”
- Click “OK”
7. Check Your Link Cable
If you’re using the official Oculus Link cable, ensure it’s properly plugged into your headset and PC. The cable should be inserted all the way into the port and secure.
If it’s not, take it out, clean any dust blocking the way and try to insert it again.
8. Check for Software Updates
It’s also a good idea to check for updates for your PC’s operating system and any other software you use. To do this;
- Open the Start menu
- Go to Settings > Update & Security > Windows Update.
- Then, click Check for Updates
- Install any available updates.
9. Use a Different USB Cable
You can also try using a different USB cable. Try connecting the Quest directly to your PC if you’re using a USB extension cord.
Most people have success with using a high-quality USB cable.
10. Try a Different USB Port
If you’re still having trouble, try connecting the Quest to a different USB port on your PC. You can also try using a different USB port on your router if you use a wireless connection.
11. Use a Different USB Drive
If you’re using an older USB drive, it may not be compatible with the Quest. I recommend that you use a USB drive that is at least USB version three.
You can check the compatibility of your USB drive by visiting the Oculus website.
12. A glitch in Your Internet Connection
The Meta Quest uses an internet connection to connect to your PC. If there is a problem with your internet connection, it can cause your Quest to disconnect.
To fix this, ensure you have a strong and stable internet connection. You can check the strength of your connection by visiting the Oculus website.
You can try using a wired connection if you’re still having trouble. To do this, connect your Quest to your PC with an Ethernet cable.
13. Restart Your Router
Restarting your router can often fix the problem using a wireless connection. To do this;
- Unplug your router and wait for 30 seconds before plugging it back in.
- Then, try connecting your Quest to your PC again.
14. Restart Your Oculus Link
You can try restarting your Oculus Link if you’re still having trouble. To do this;
- Open the Oculus app on your PC
- Go to Settings > Beta.
- Then, select Restart Oculus Link and follow the instructions.
15. Restart Your Quest
If you’re still having trouble, you can try restarting your Quest. To do this;
- Hold down the power button for 30 seconds and then release it.
- Then, try connecting your Quest to your PC again.
16. Factory Reset Your Quest
If you’ve tried all of the above and you’re still having trouble, you can try factory resetting your Quest. To do this;
- Go to Settings > Devices > Reset Device.
- Then, follow the instructions on the screen.
Check out this article to get a more in debt guide on how to factory reset your Meta Quest 2 and what the consequences are.
17. Let the Battery Drain Completely
You can try letting the battery drain completely if you’re still having trouble. To do this;
- Unplug your Quest and use it until the battery is completely drained.
- Then, try connecting your Quest to your PC again.
Final Thoughts
The Meta Quest is a great VR headset, but it’s not perfect. It can disconnect because of a faulty link cable, a problem with your internet connection, or a software update, among other reasons.
I hope this article has helped you troubleshoot the problem and get back to enjoying VR. Thanks for reading.
!! For more information about the different VR headsets on the market, check out this product specification list.

Espen
Espen is the Director of PursuitMeta and has written extensively about Virtual Reality and VR Headsets for years. He is a consumer product expert and has personally tested VR Headsets for the last decade.




Leave a Reply